Create PDF To Save Offline

Rainman Technology Pty Ltd
49 Orchard Road
Brookvale, NSW 2100
Australia
www.rainmandesal.com
support@rainmandesal.com
Introduction
It is extremely rare that a Rainman electric motor in the pressure supply unit (PSU) will need to be replaced. The most common reason to require motor replacement is if the system gets submerged or exposed to excessive moisture, but it is possible for other malfunctions to occur. This technical manual is designed to provide guidance on replacement of a motor. The example used is the Rainman Mk2 AC electric PSU, but the procedure will be similar for older Mk1 systems or 12VDC systems. Moderate technical skill is required to perform this procedure. If you are uncomfortable with the procedure described, please contact Rainman or one of our many dealers around the world.
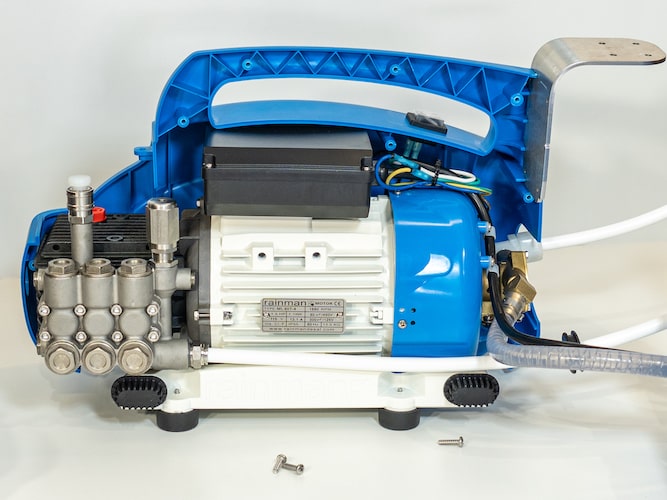
PSU Case Removal
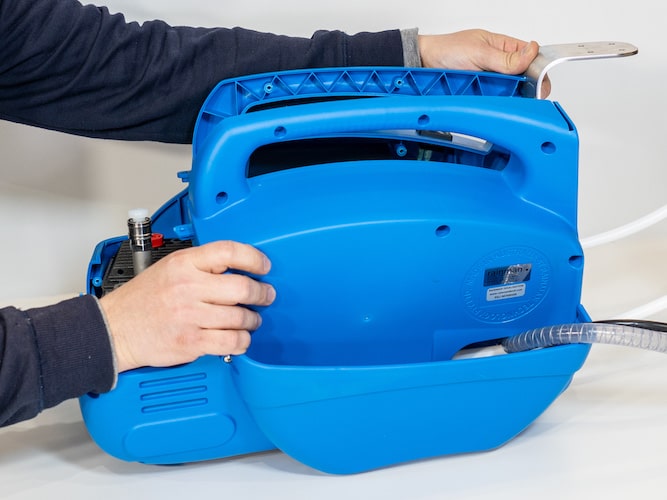
- The Rainman Mk2 case is made up of four injection moulded parts that can be carefully detached from the system with a Philips head screwdriver. If you have the older Mk1 case for an electric Rainman system (before January 2019), please follow these instructions for removal of the external case.

- Remove four screws holding the prefilter housing head. Let the head stay attached to the white prefilter hoses as there is no need for them to be detached.
- Remove the two screws holding the high pressure pump lid on. Remove the lid.
- Remove the nine screws holding the two sides of the main case together. There is no reason to remove the side hose basket from the back side.

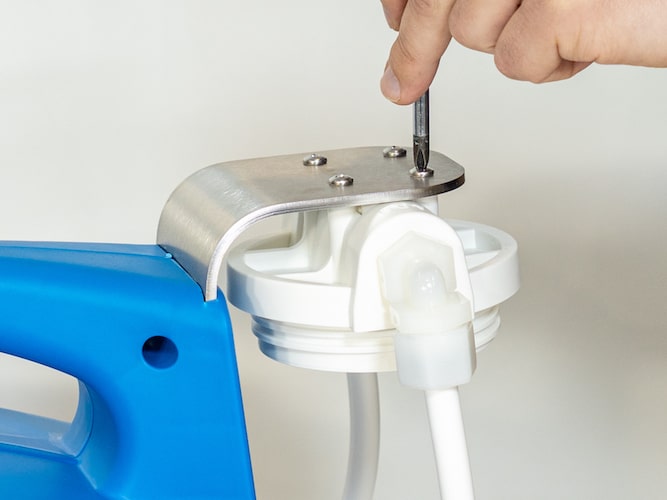
- Carefully separate the side with the intake hoses threaded through it. Do not let the stainless steel prefilter bracket drop.
- With the internals of the PSU exposed, remove the prefilter bracket. Take care to note how it is positioned to ensure you can replace it when reassembling the PSU.
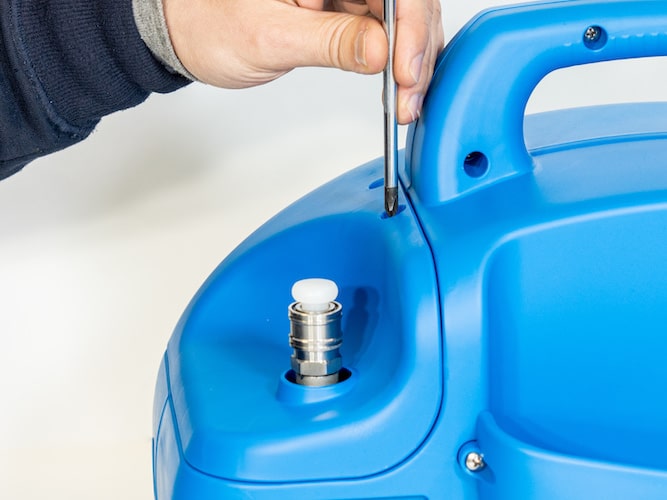
- Remove the front side of the shell enough so you can access the electrical switch and wiring. Disconnect the wiring and put the shell aside.

Remove Lift Pump
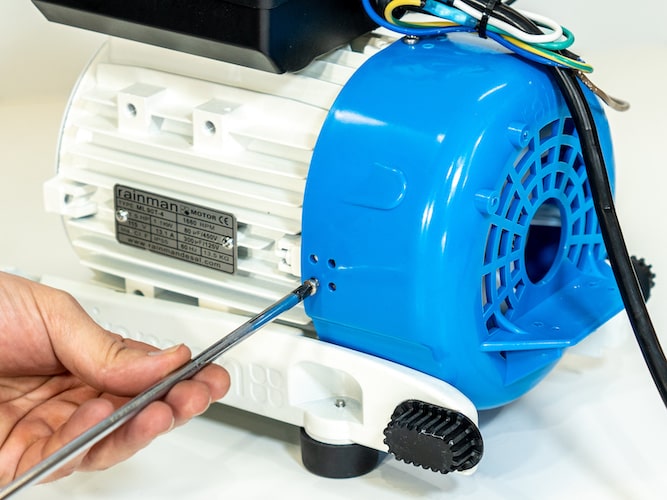
- Remove the two screws with large washers that secure the lift pump to the blue motor cowling.

- Remove the lift pump by pulling it straight backwards. Some wiggling may be required. For older versions of the PSU, you may need some leverage with screwdrivers on both sides.

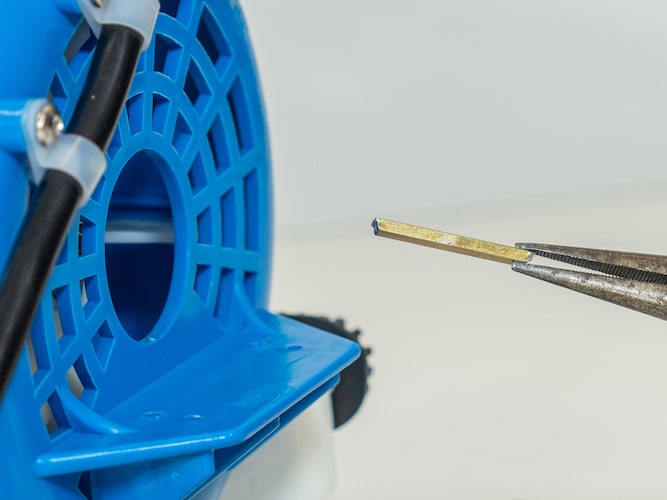
- Do not lose the shaft key. Remove it from the motor and keep it for reassembly. Some systems may have slightly different shaped keys.
Remove High Pressure Pump
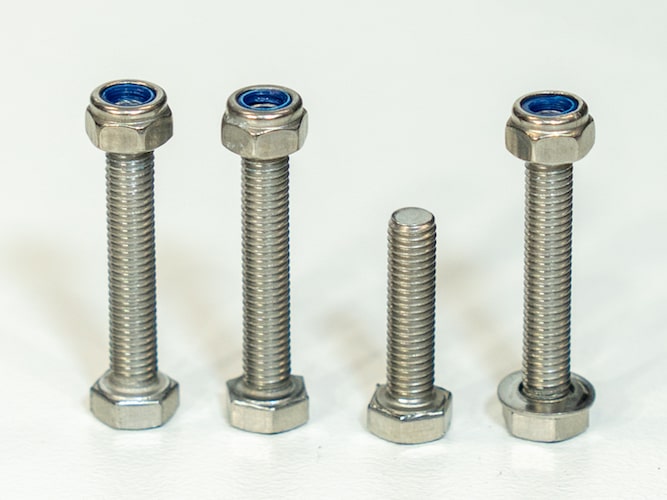
- Use an 8mm spanner (wrench) to remove the four bolts that secure the high pressure pump’s flange to the motor. Note the location of bolts as the are not all the same.
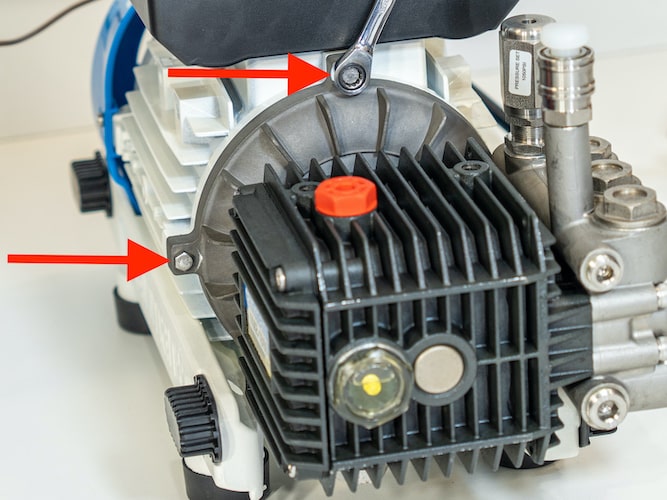
- The shorter bolt goes into the top hole as it threads directly into the motor housing. The longer ones have nuts, but only one of them has a washer on it. This is required on the side of the flange that does not have fully round hold.
- Remove the high pressure pump by pulling it straight off the motor. Wiggling will not help here as it will move together with the motor shaft.
On rare occasions, such as if the motor was overheating, it is possible that the pump will be seized onto the motor shaft. If this is the case, you will need levers between the rotor and the pump’s flange. If you are replacing the motor, you do need not be concerned about damaging the motor shaft.

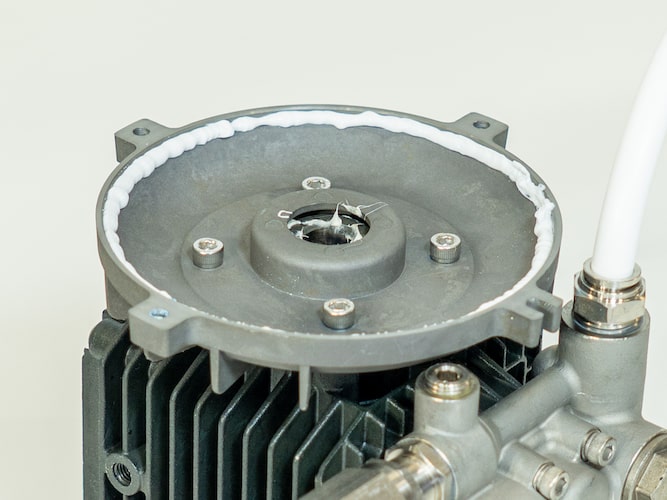
- The motor’s internal windings will be exposed after the pump is removed. Take care not to damage these on the new motor.

Remove Motor Fittings
- Remove two screws holding the power cord to the motor cowling.

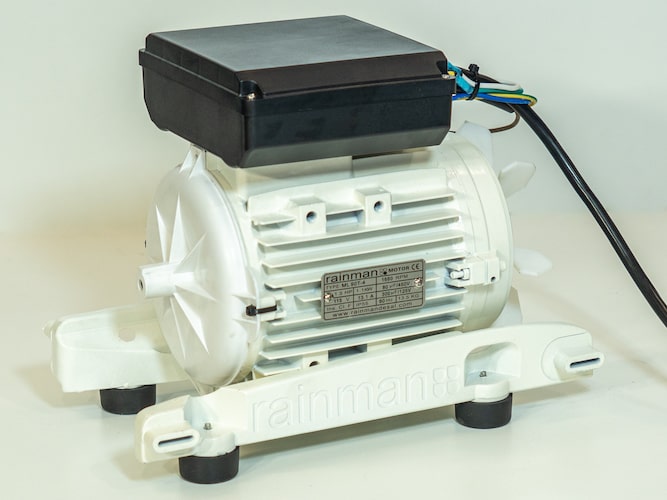
- Remove four screws holding the motor cowling to the motor body. The cowling is to be reused on the new motor.
- Remove the four vibration isolation mounts from the motor footings for use with the new motor.

Reassembly of PSU
- The new motor will have a plastic cover to hold the shaft and internals of the motor in place during shipping. This can be removed and discarded. The motor cowling is replaced over the fan on the motor.
- Add a small bead of general use silicone on the pump’s flange to create a watertight seal between the motor and high pressure pump.

- Reverse all the steps outlined in this manual to reassemble the PSU with the new motor.