Create PDF To Save Offline
Rainman Technology Pty Ltd
49 Orchard Road
Brookvale, NSW 2100
Australia
www.rainmandesal.com
support@rainmandesal.com
Introduction
Occasionally, customers may need to convert a Rainman RO unit in a case to have a remote valve / gauge control assembly. This allows the system to be installed in the case, but access the control assembly up to 5 metres (16 ft) away.
While it would be possible to re-use all the hardware, such as the pressure valve, pressure gauge, and pressure vessel end caps, it is a much easier task to simply use a few new components. This saves significant time on the rebuild process.
You will likely be installing the RO unit into your vessel. This can be done in the blue case or without the case. See the detailed installation manual support page for further installation details.
What’s included in the kit
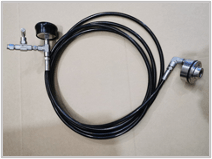
The conversion kit includes a 5 metre (16 ft) high pressure hose pre-installed with an RO end cap on one end and a pressure valve / gauge control assembly on the other. It also includes some large cable tie straps for reassembling the unit into the blue case.
Disassembly of current RO case unit
- Cut the two black straps that mount the pressure vessels into the case. Leave the two inner straps intact as that holds the RO pressure vessel assembly together.
- Grasping one of the remaining straps and with the other hand bending the side of the case outwards, pull one end of the RO assembly out of the case. This allows you to easily remove the entire RO internals.
- Using 16mm spanner loosen the nut which holds a stainless pipe in place. It may be useful to use a second spanner as shown to prevent end cap rotation.
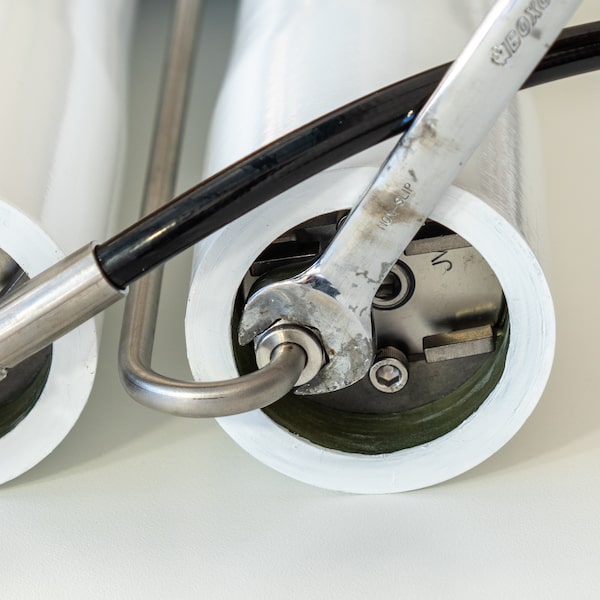

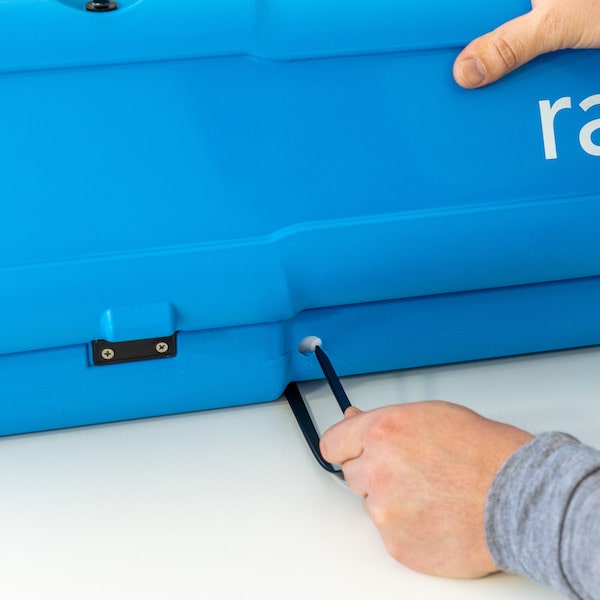
- Firmly pull the hook 3-4 centimeters (1-1.5”) out, and push it left and down just enough so it does not block the way while removing the end cap from RO housing. Note: this will shift the whole blue plastic “spine” that separates the two pressure vessels.

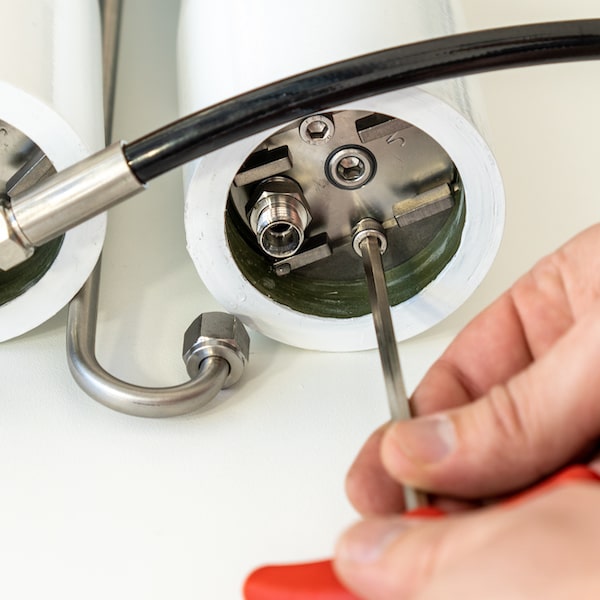
- Using a 5 mm Allen key, loosen the two bolts holding the retaining plates. Remove these retaining plates.
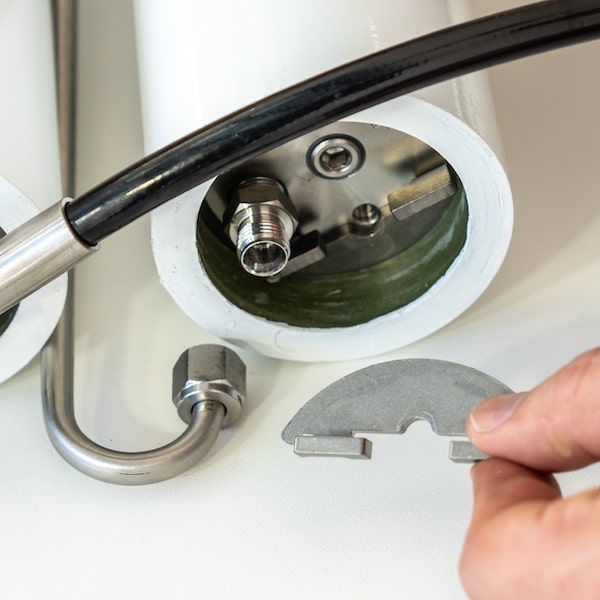
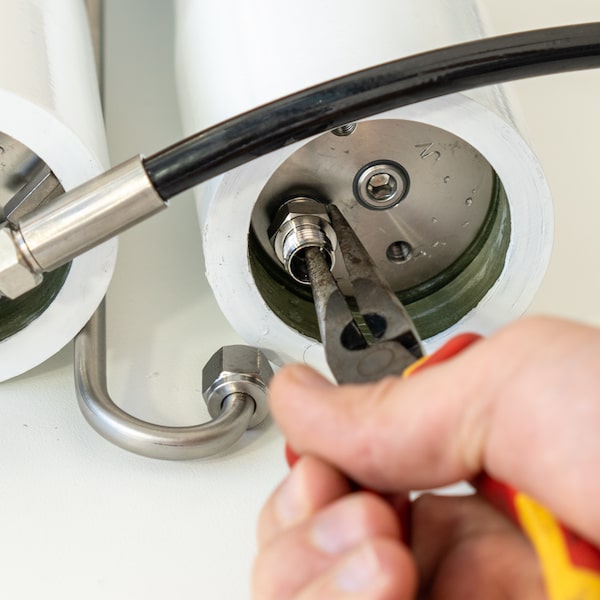
- Using pliers, remove the end cap from the RO pressure vessel.
Reassembly of RO unit with new high pressure hose
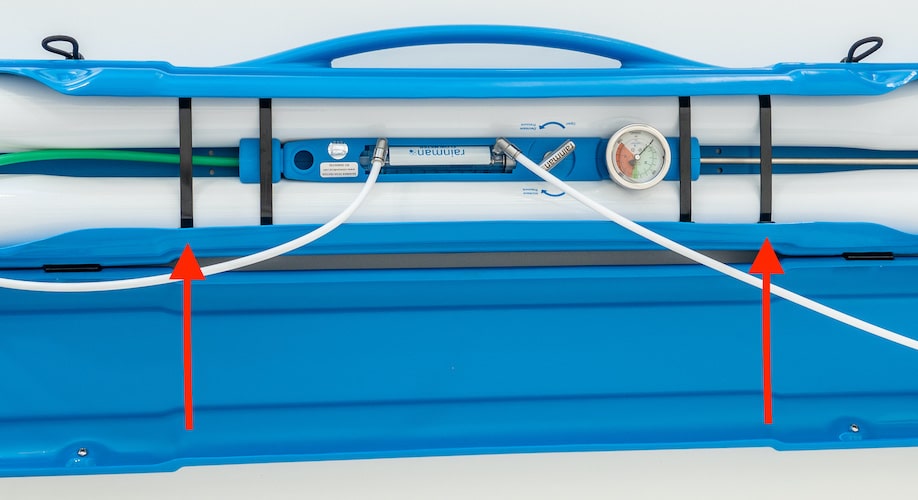
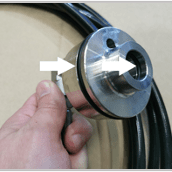
- If not already done, grease the O-rings shown by arrows in the photo with food grade grease.
- Gently insert greased end cap into the RO pressure vessel. Push it all the way until you have full access to the internal groove that holds the retaining plates.
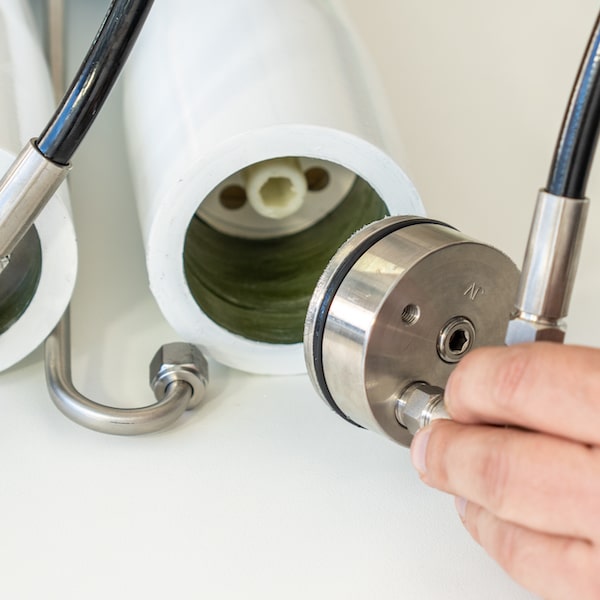

- Install the retaining plates and bolts as they were before. The end of your pressure vessels will appear as shown.
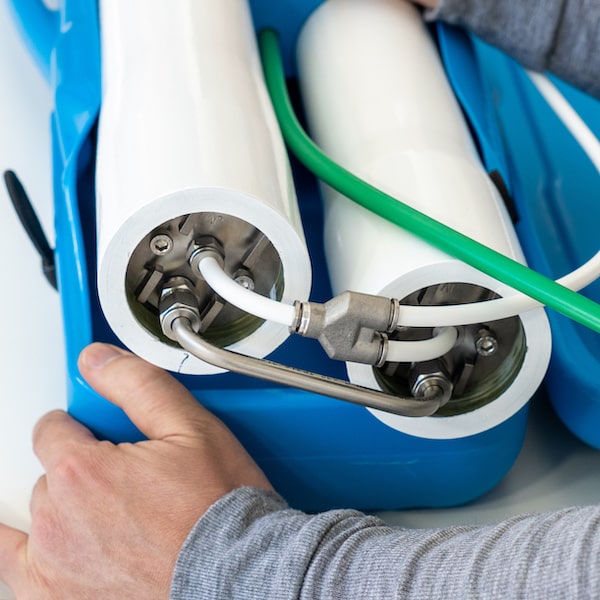
- Cut your green brine hose as close as possible to the blue spine in the RO assembly. Connect it to the pushfit on the new pressure valve / gauge control assembly as shown.

- Optional step: There is no harm to leave the existing internals from the blue plastic spine in place and unused. If you wish to remove the now unused components, cut the two remaining cable tie straps that hold the two pressure vessels together. Remove the blue plastic spine and loosen the phillips screws to remove all internals. Screw the blue spine back together and replace into the centre between the two pressure vessels. Strap with new cable tie straps.
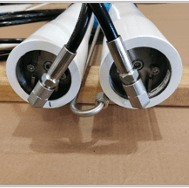
- Optional step: To reinstall the assembly into the blue case, use the cable tie straps provided. Tighten them careful using pliers to achieve full tension.