


Rainman Technology Pty Ltd
36 Sydenham Road
Brookvale, NSW 2100
Australia
www.rainmandesal.com
support@rainmandesal.com
Introduction
The Rainman divert valve is designed for long‑term durability and reliable operation. However, certain operating conditions can cause its performance to decline or lead to leakage. Over time, the lever retaining screw may losen up, allowing the O‑ring to dislodge.
This procedure is not part of routine servicing. It outlines the corrective steps to follow if the valve starts leaking, so you can restore normal function without replacing the valve unnecessarily.
Video Tutorial
Watch this quick walkthrough of the divert valve service — from removing the handle and freeing the hex, to inspecting right through to reassembly. Follow along step by step to get your valve back to full working order.
PVC Divert Valve – Troubleshoot
-
Using a Phillips screwdriver, remove the screw from the blue lever (white on control panel).
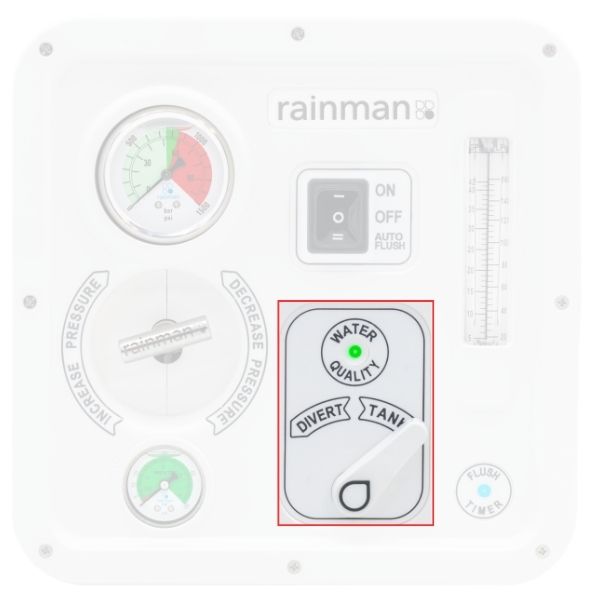
Please note – if your valve is mounted into a control panel, remove the water drop cover from the white lever to uncover the screw.
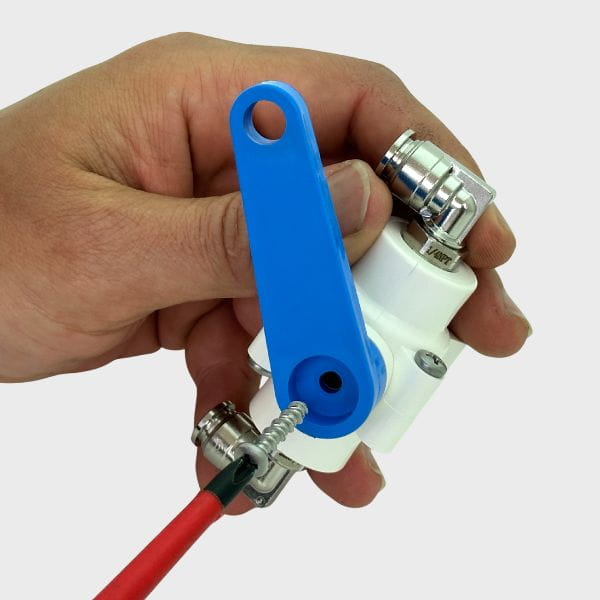
- Remove the lever from the valve and note its position for reassembly.
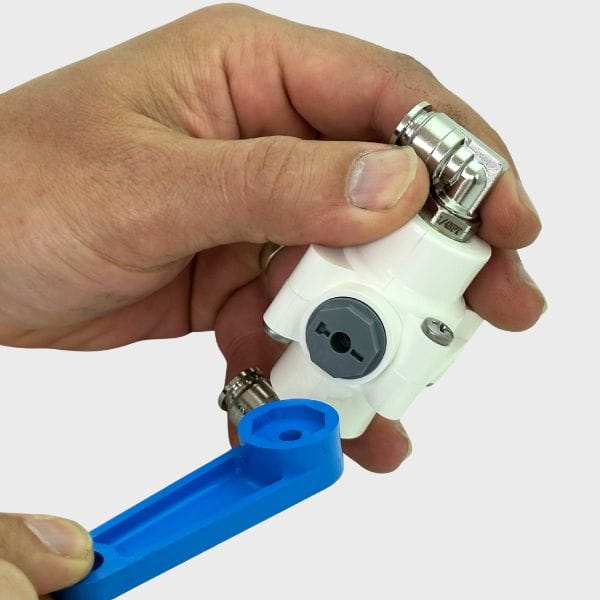
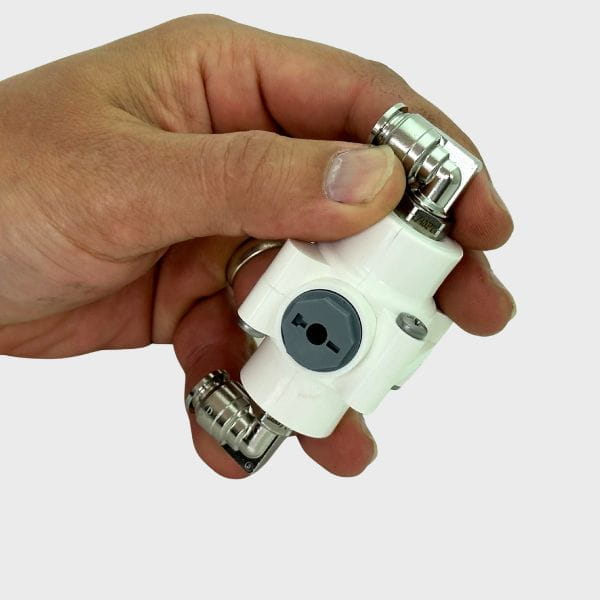
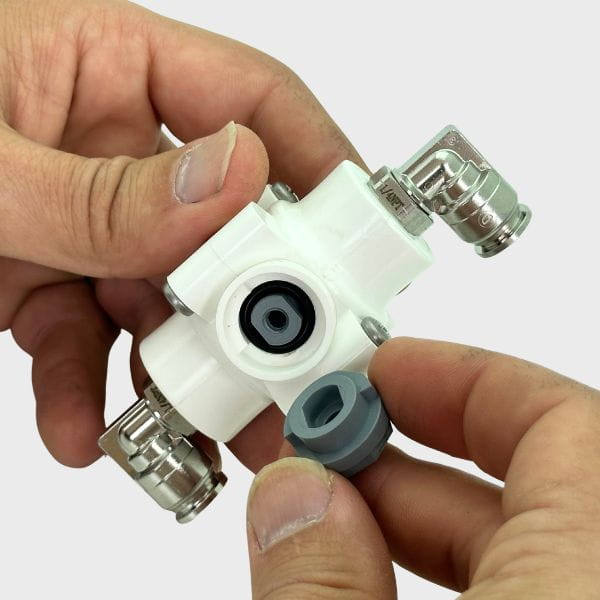
- Grasping with pliers, gently wiggle the hex outwards.
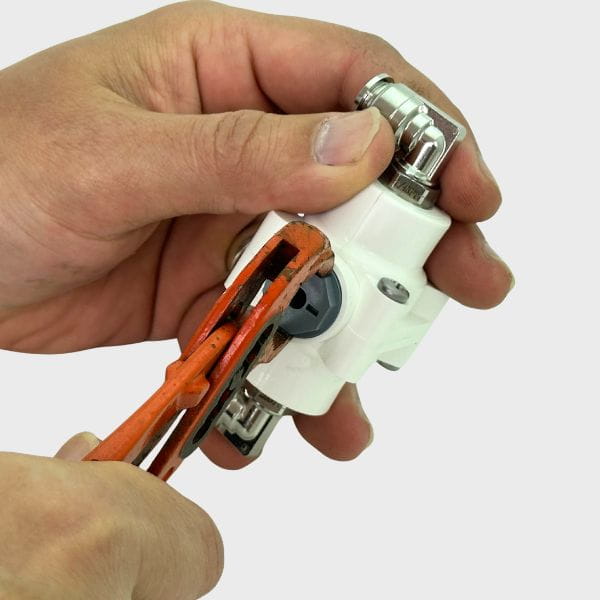
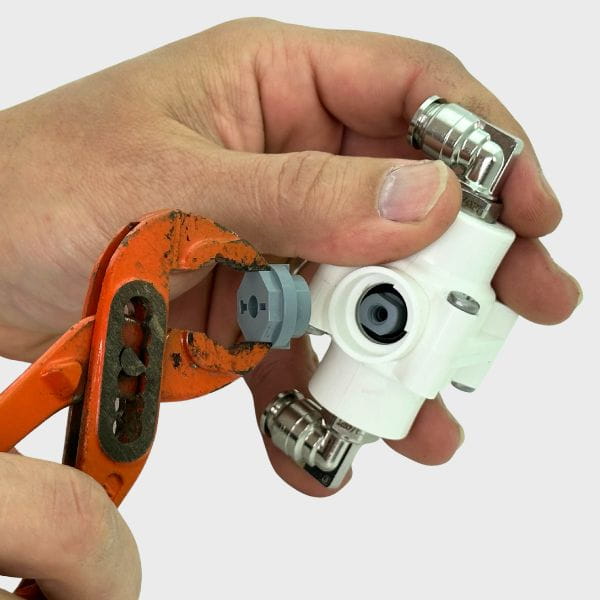
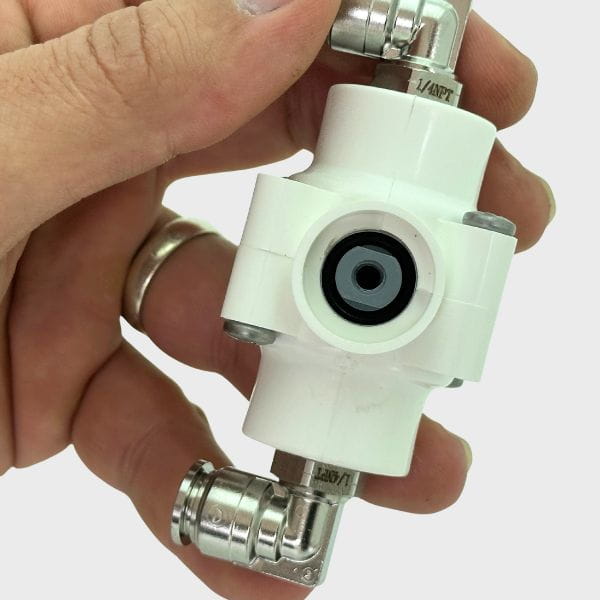
- Locate the O-ring seated around the valve stem.
-
If O-ring has popped out and it is easy to get a hold of, take it out for inspection of wear and cleaning. Otherwise, it is likely that O-ring only needs pushing deeper in. Use a blunt tool to avoid damage and seat the O-ring back in place.
If replacement is required, the O-ring is AS568 – 110.
Width 3/32″
ID 3/8″
OD 9/16″
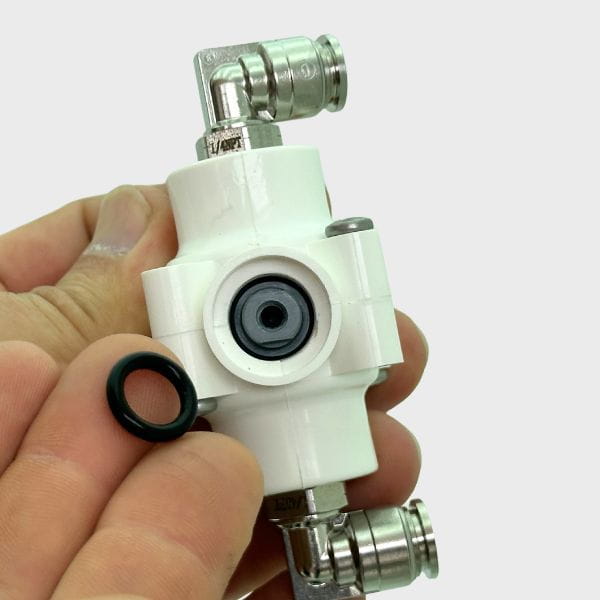
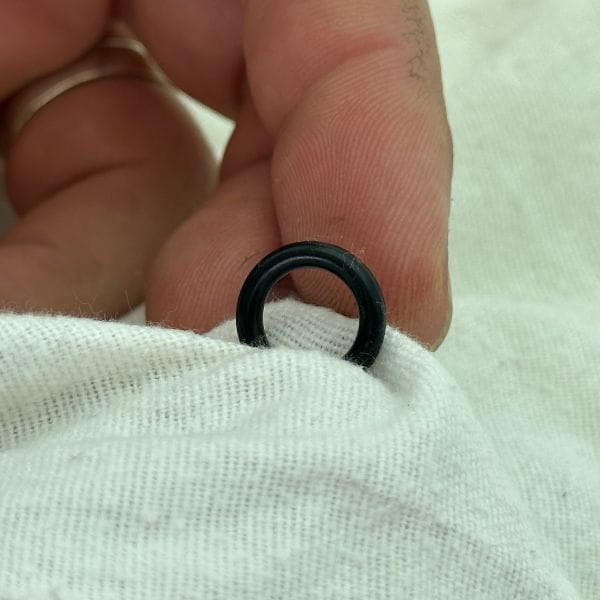
- Align the valve hex insert and press it back into position so the O-ring seats correctly.
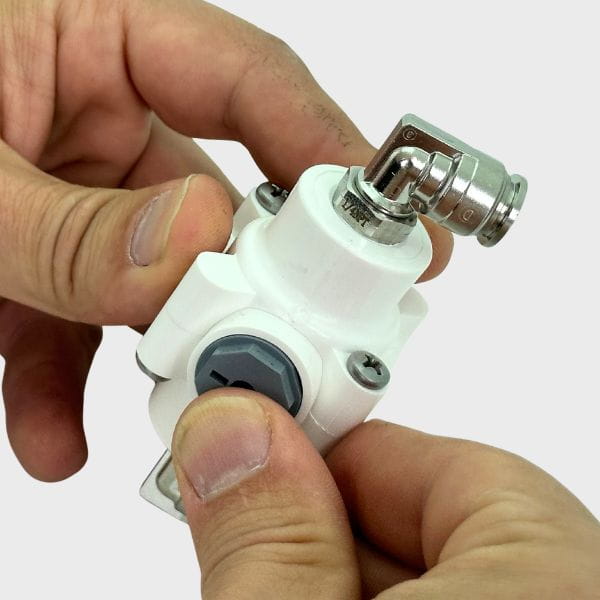
- Reinstall the handle and secure it with the screw.
(Reinstall water drop insert on control panel)
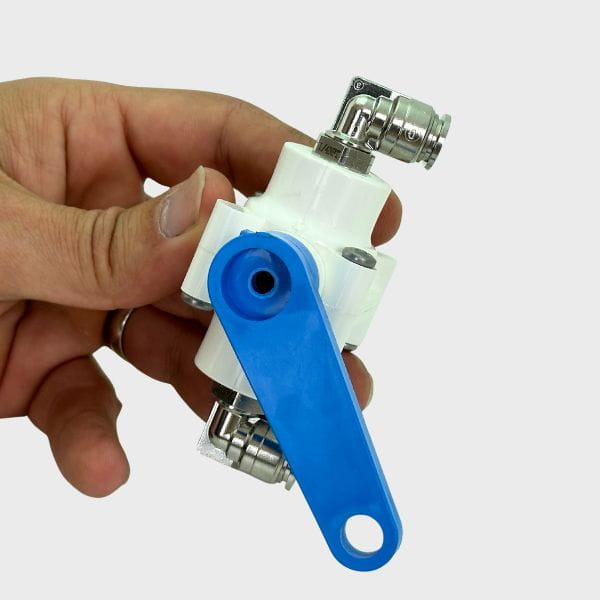
Your divert valve is now reassembled and ready to perform. If issues persist after this fix, reach out to our support team for further assistance.