

 Create PDF To Save Offline
Rainman Technology Pty Ltd
49 Orchard Road
Brookvale, NSW 2100
Australia
www.rainmandesal.com
support@rainmandesal.com
Introduction
On extremely rare occasions, it is possible that the brushes in a Rainman 12VDC pressure supply unit (PSU) get knocked out of position during the shipping process. While this is not damaging for the overall system, it is inconvenient. The symptom of this is that the system will not respond at all when switched on since there is an incomplete circuit. This document outlines the procedure to put the 12VDC motor brushes back into position.
PSU Case Removal
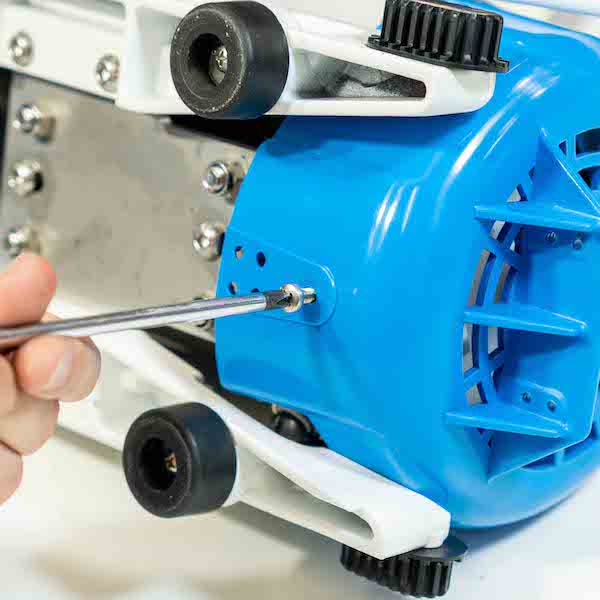
- The Rainman Mk2 case is made up of four injection moulded parts that can be carefully detached from the system with a Philips head screwdriver.

- Remove four screws holding the prefilter housing head. Let the head stay attached to the white prefilter hoses as there is no need for them to be detached.
- Remove the two screws holding the high pressure pump lid on. Remove the lid.
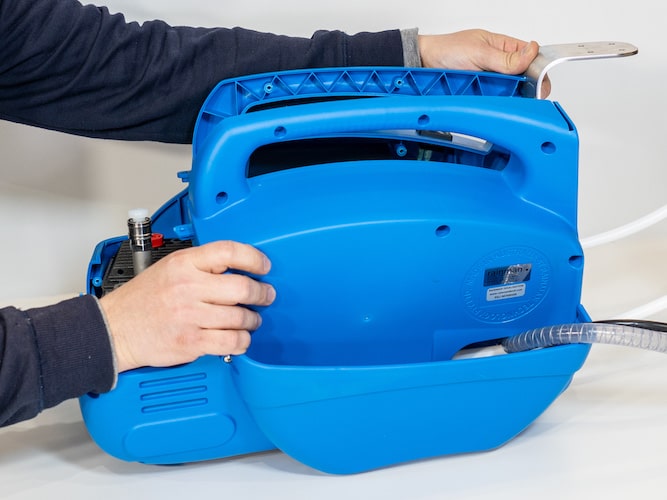
- Remove the nine screws holding the two sides of the main case together. There is no reason to remove the side hose basket from the back side.

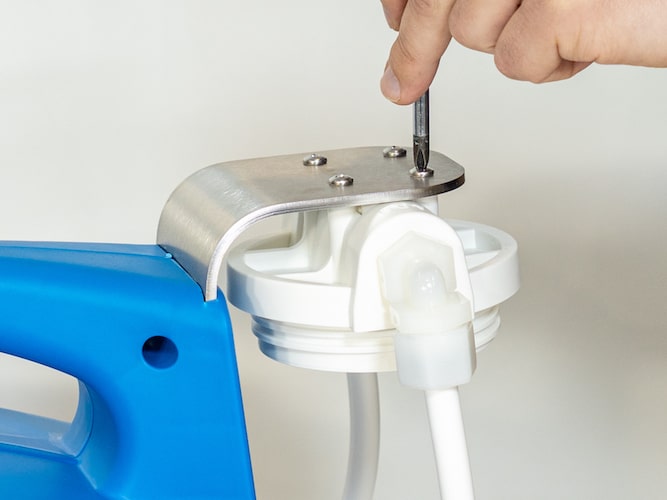
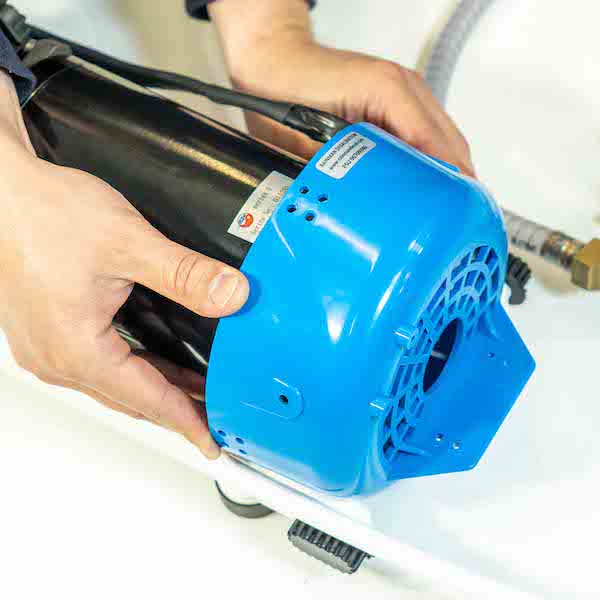
- Carefully separate the side with the intake hoses threaded through it. Do not let the stainless steel prefilter bracket drop.
- With the internals of the PSU exposed, remove the prefilter bracket. Take care to note how it is positioned to ensure you can replace it when reassembling the PSU.
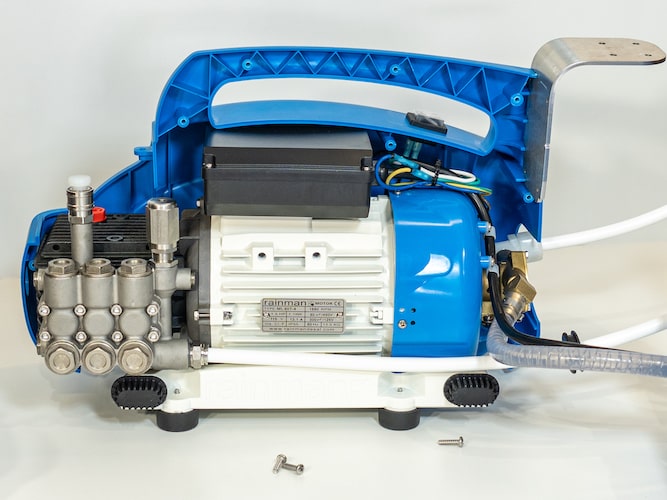
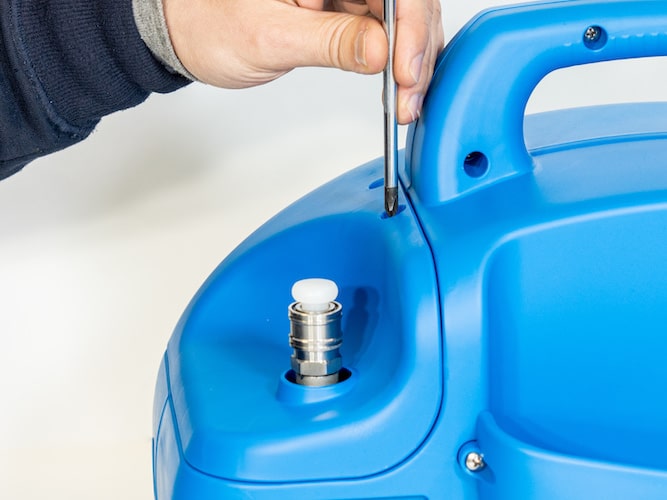
- Remove the front side of the shell enough so you can access the electrical switch and wiring. Loosen the screws, disconnect the wiring, and put the shell aside.

Remove Lift Pump
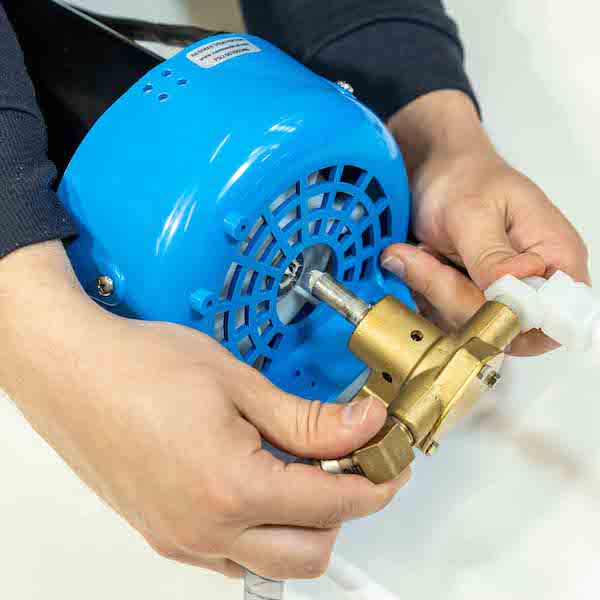
- Remove the two screws with large washers that secure the lift pump to the blue motor cowling.

- Remove the lift pump by pulling it straight backwards. Some wiggling may be required.
Loosen Motor Cowling
- Remove two screws on the top half of the motor cowling.
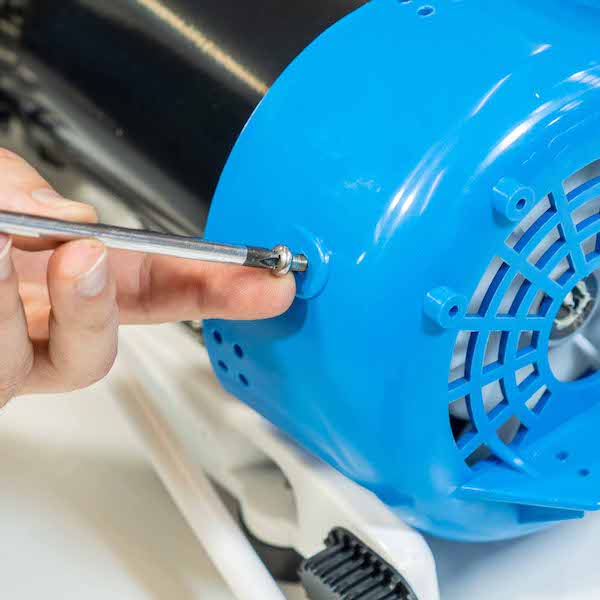
- Turn the system on its side and remove the screw on the bottom of the cowling.
- Using both hands, slide the motor cowling off the end of the motor to access the brush compartments.
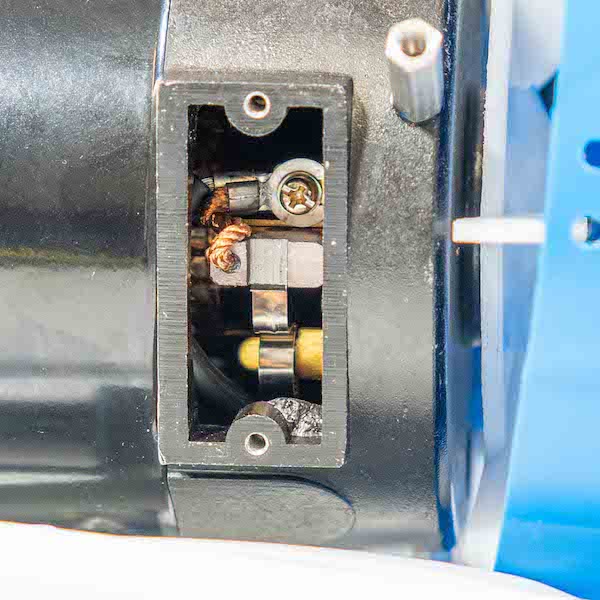
Correct motor brushes
- Remove the two screws on the side of the motor that cover the brush compartment.

- There is both a metal plate and a black rubber insulator that cover the brush compartment. There are two brushes, one on each side of the motor.

- The brush is the carbon piece connected to the copper wiring. If the brush has popped loose the silver spring that is meant to secure the brush will be underneath it and not holding it into place. This image shows a loose brush. The image at the bottom of this page shows a brush that is properly secured.
- Use a screwdriver and push the brush back into place so the silver spring can clip over it.
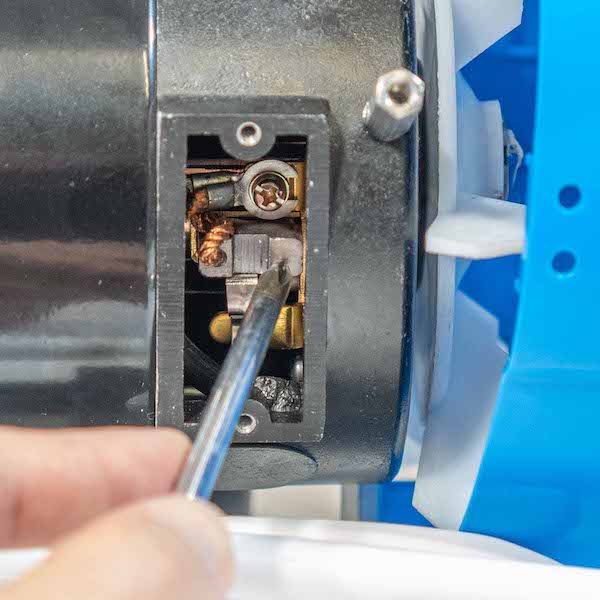
- Once the brush is pressed back into place, use the screwdriver to pry the spring back over the brush to secure it.

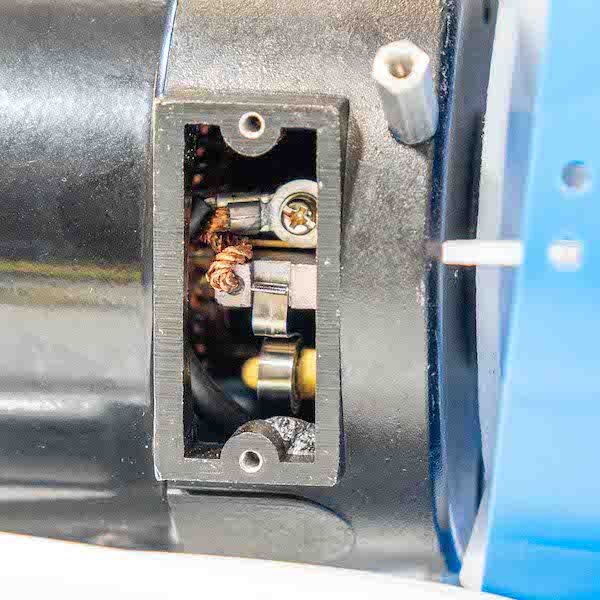
- This image shows a properly secured brush.Repeat this procedure on the second brush in the motor, located on the opposite side.
- Reverse steps 1 through 13 above to reassemble the PSU.