

 Create PDF To Save Offline
Rainman Technology Pty Ltd
36 Sydenham Road
Brookvale, NSW 2100
Australia
www.rainmandesal.com
support@rainmandesal.com
Introduction
On extremely rare occasions, Rainman customers have wanted to replace the spine assembly in their reverse osmosis (RO) unit. This may be to replace the valve / gauge control assembly after several years of use. Alternatively, it could be to install the integrated flow meter into the unit.
Rather than mixing new and old fittings, it is simplest and most time efficient to simply replace the blue spine sub-assembly. This includes all parts from the final RO pressure vessel end cap through to the brine waste hose. To gain further understanding of the parts being replaced, it is worth reviewing the detailed system schematic.
Tutorial Video
Watch the video below for a walkthrough of the RO spine subassembly replacement using our newer configuration. Written instructions with photos are also provided below, though these reflect our older configuration.
Step by Step Instructions
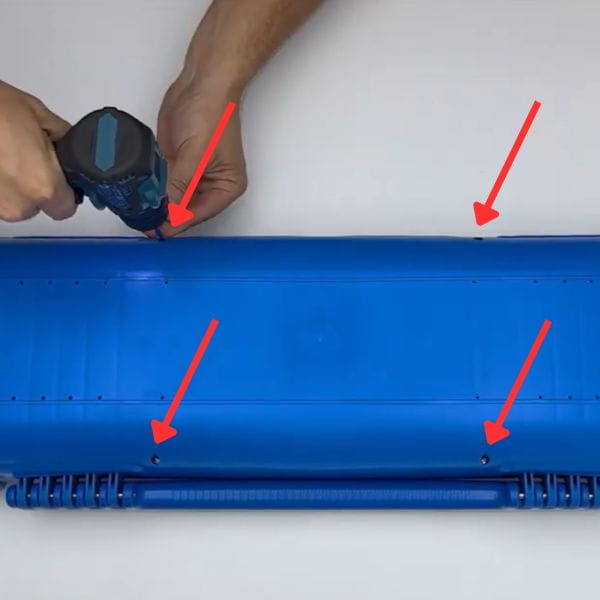
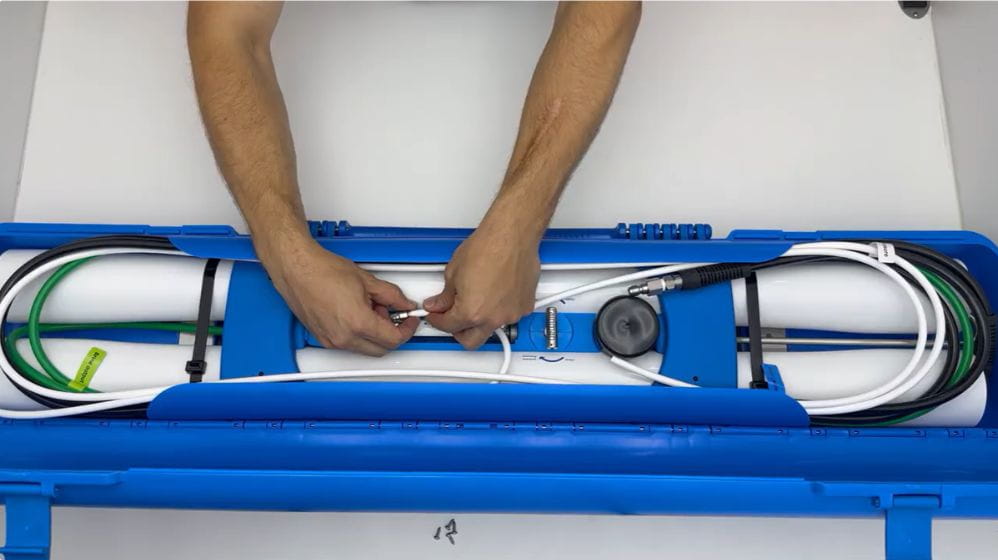
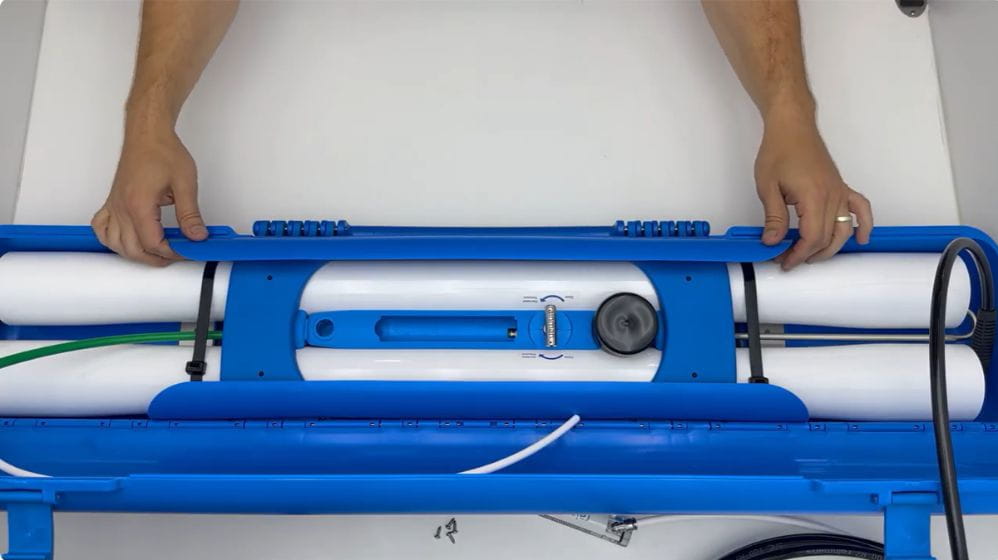
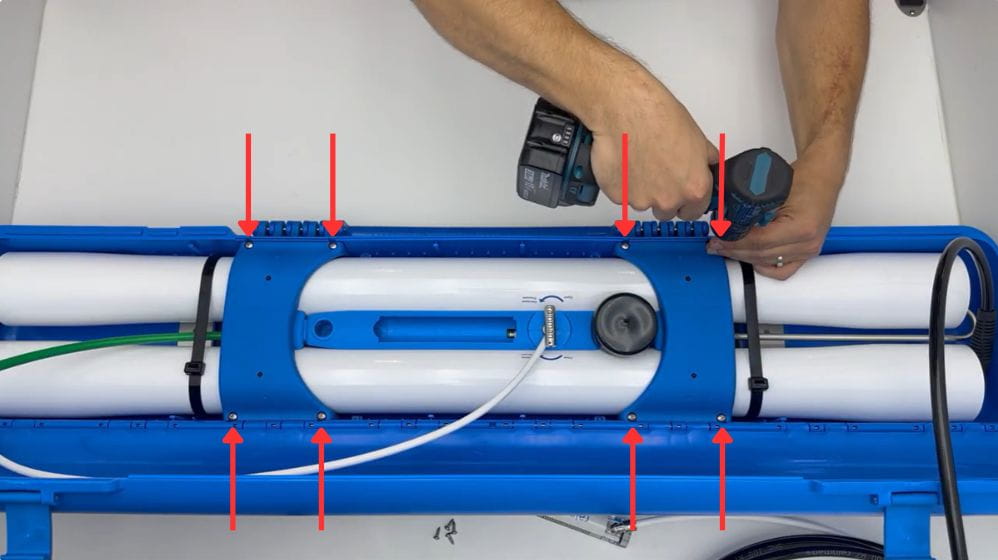
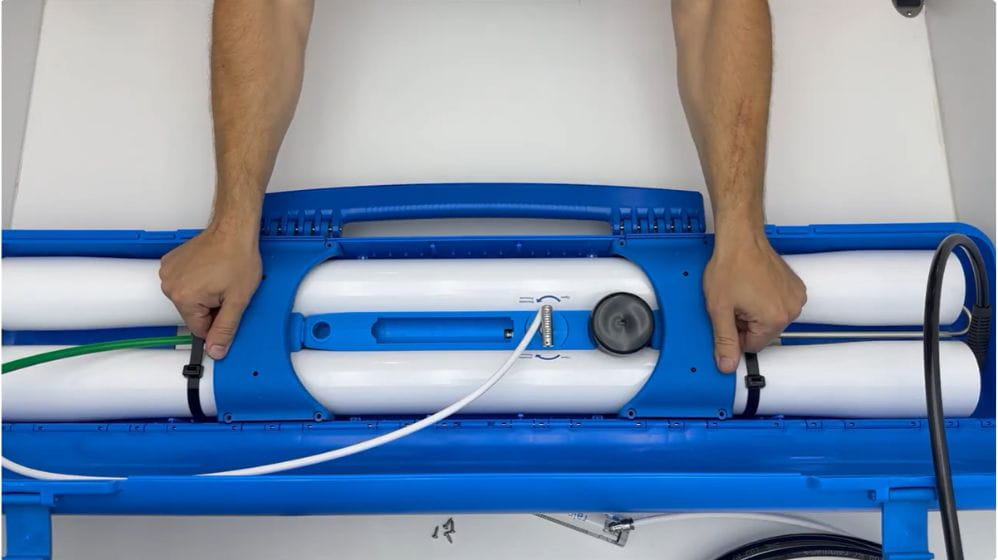
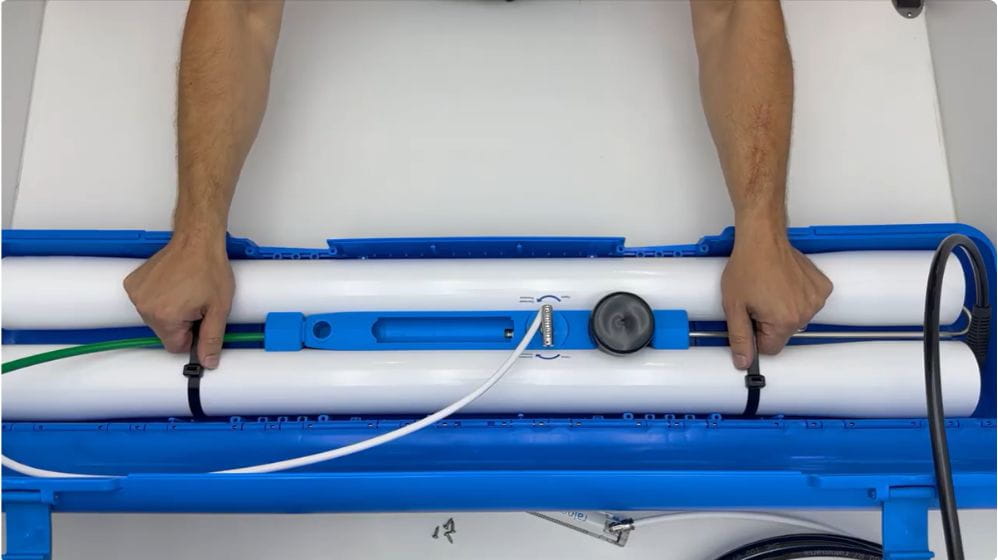
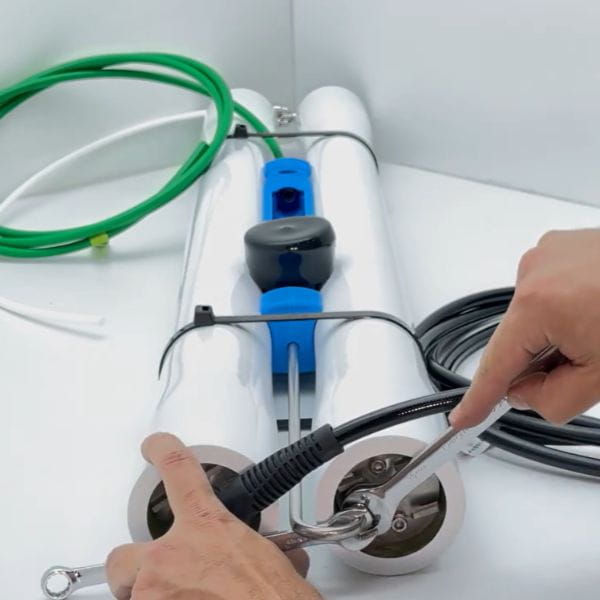
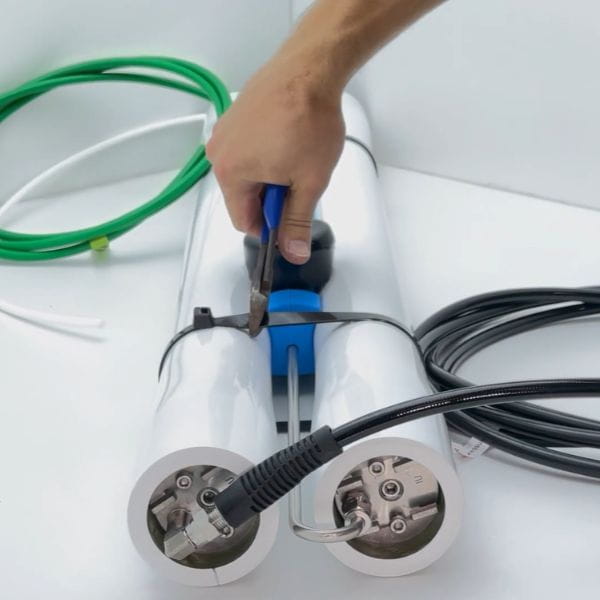
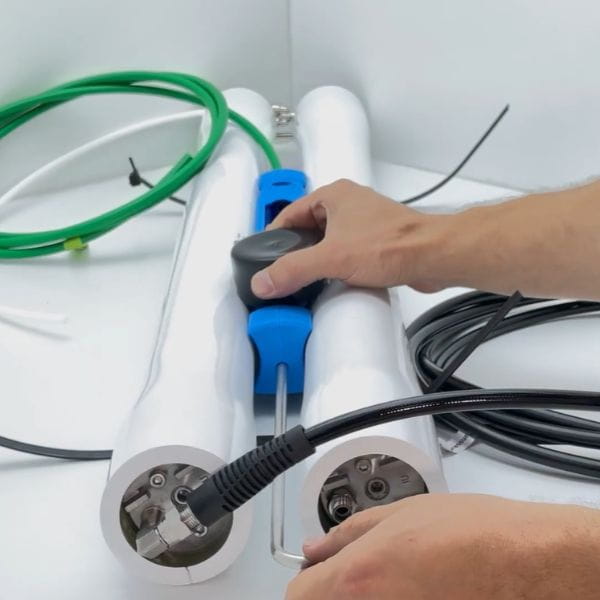
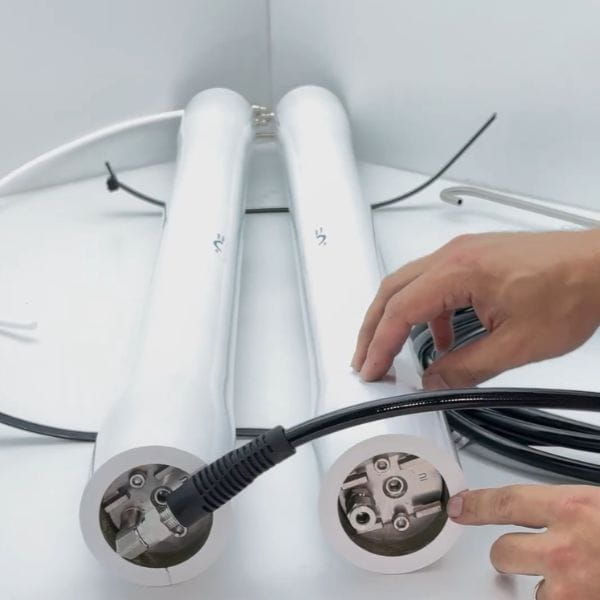

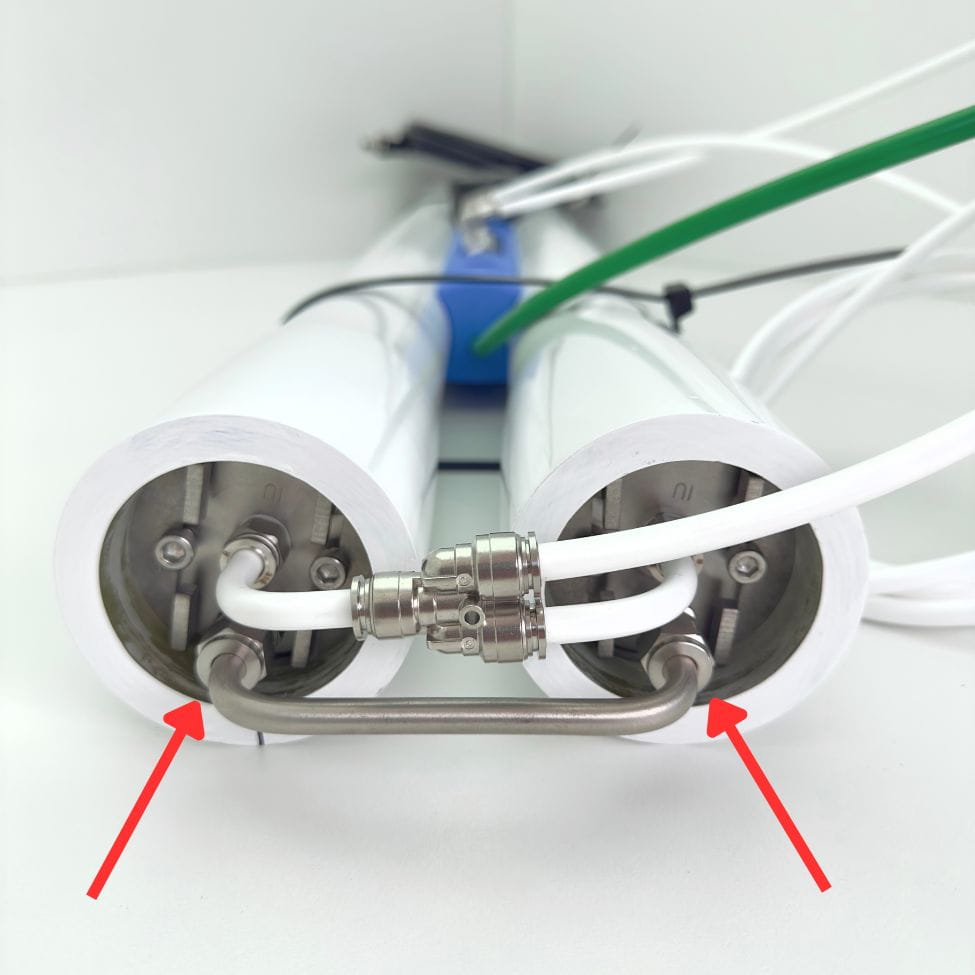
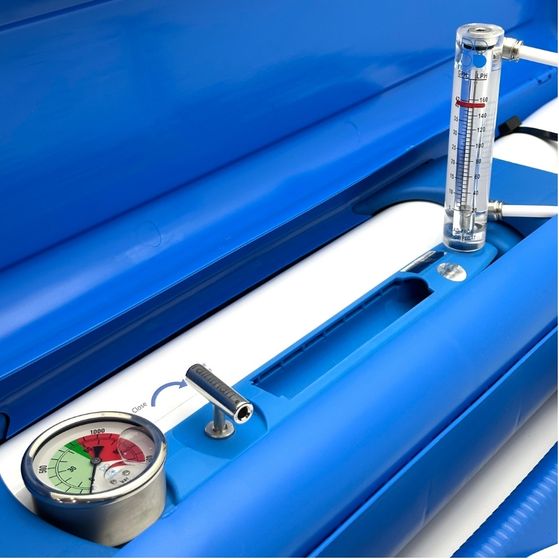
- Remove the four screws located at the back of the RO shell.
- Turn the unit so it is facing up.
- Detach the hose from the flowmeter and gently move all hoses to the side so you have clear access.
- Take out the hose retaining inserts pulling them upwards.
- Using a Philips screwdriver remove eight fasteners from the braces holding RO unit in the shell.
- Carefully remove the brace/handle assembly from the unit pulling upwards.
- Grasp the two cable ties and pull the RO unit out of the shell.
- Using a 12 mm spanner, hold the stainless steel tube. With a 16 mm spanner, loosen the compression fitting.
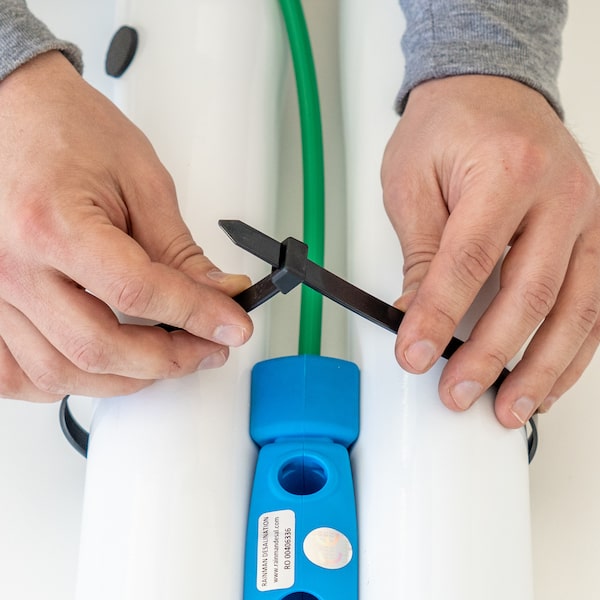
- Cut both cable ties that hold the pressure vessels to the spine.
- Pull the stainless steel tube sideways and upwards so the entire spine sub‑assembly slides up and out of the pressure vessel.
-
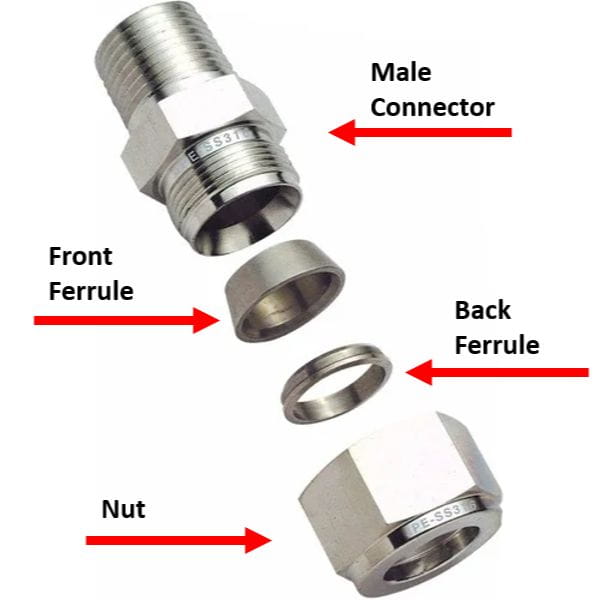
Grab the new compression fitting and refer to the fitting anatomy shown in the product photo. Take the front ferrule, back ferrule, and nut.
- Make sure the parts are in the correct order, then screw the assembly onto the existing male connector end on the RO unit.
-
Reinstall large cable ties that hold the white pressure vessels snugly around the spine subassembly. Tighten cable ties by grasping the end with pliers or wire cutter and twisting.
-
Before installing the RO unit back into blue shell, tighten the compression fittings on the stainless steel bridge located on the opposite side of the RO unit.
-
Place the RO unit back into the blue shell. Complete the reassembly by following the previous steps in reverse order.
Older RO Configuration
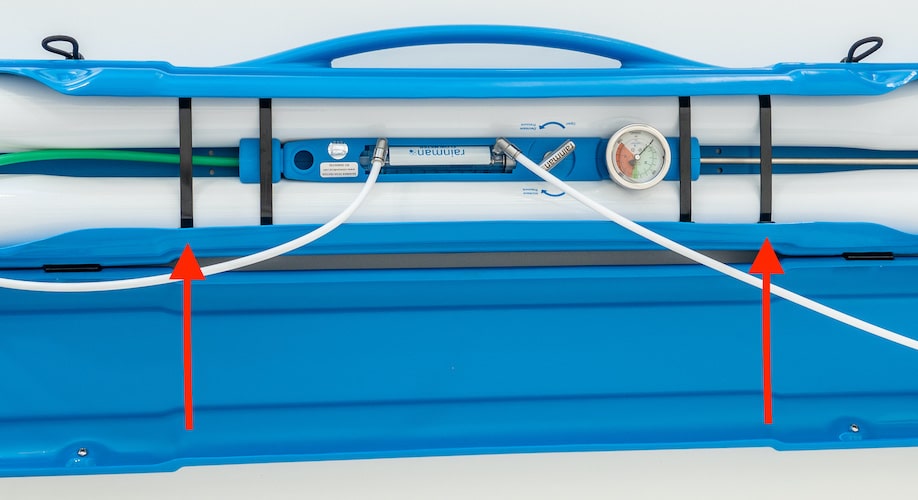
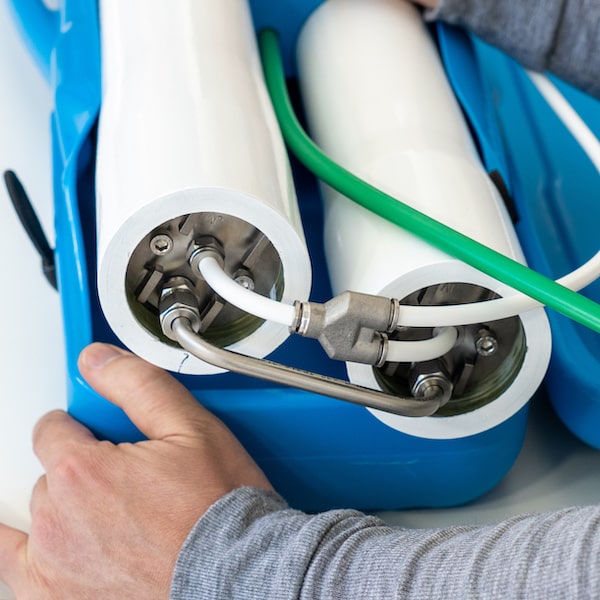


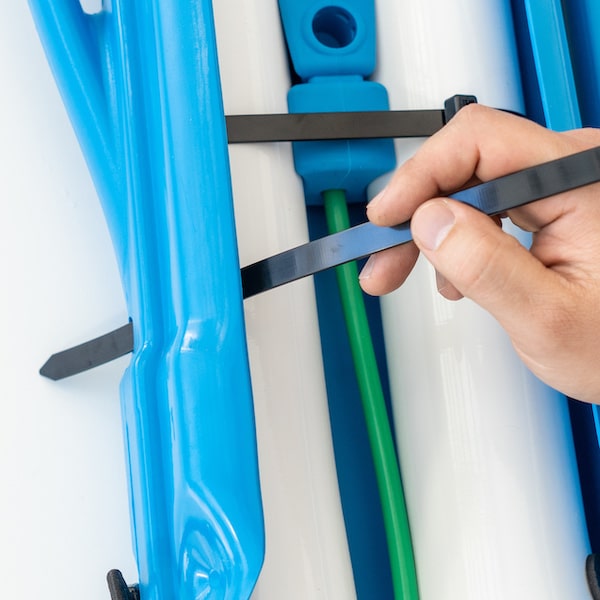
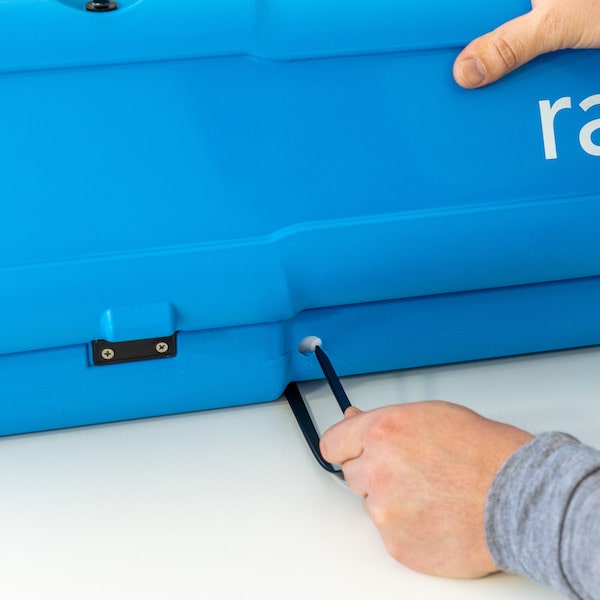


- The RO case has four large black cable ties holding the system together. The outer two cable ties hold the white pressure vessels snug to the shell. Cut these outer two cable ties. Older models might have slightly different configuration.
- Grasping the other two cable ties, pull the RO pressure vessels out of case.
- Two retaining plates hold the pressure vessel end cap into place. Loosen the two bolts with 5mm Allen key.
- Remove the two retaining plates. Retaining plates from older systems look slightly different.
- Cut the other two cable ties holding the white pressure vessels together.
- Pull the stainless steel tube so the entire spine subassembly slides up the pressure vessels. The end cap will come out of the pressure vessel.
- Remove the old spine assembly and install the new one in the same manner as old one came out. Ensure O-rings are greased with food grade grease before pushing the new end cap into RO housing.
- Reinstall large cable ties that hold the white pressure vessels snugly around the spine subassembly. Tighten cable ties by grasping the end with pliers or wire cutter and twisting.
- Install the pressure vessels back into blue case and secure it with two large cable ties. Tighten cable ties same way as done in the previous step.
- Cut the white product water hose so the flow meter can easily fit within the blue spine for storage and be set into the hole during use. Approximately 60cm from the end of the start of the hose to the bottom of the flow meter should give enough slack to easily stow it and use it.